 Skip to content


· By The Wakaii Team
The Ultimate Guide to Plushie Pattern Design
Ready to craft your own plushie pattern? Perfect, you're at the right spot!
This guide will take you through the process, from the initial sketch of your design to the careful refining of your pattern.
And guess what? Once you've got your pattern down, you're all set for the exciting next step - creating your own plushie!
So, let's not delay any longer and dive into this journey.
Ready to get started? Let's do this!
Table of Contents [show]
Understanding Plushie Patterns
A plushie pattern is essentially a blueprint for your plushie. It's a guide that shows you how to cut your fabric and sew it together to create your plushie.
Each part of a plushie pattern serves a specific purpose.
For instance, the seam allowance, which is the extra space around the edge of the fabric, allows for the fabric to be sewn together without fraying or coming apart.
The grain line, on the other hand, indicates the direction in which the fabric should be cut.

Sketching Your Design
The first step in designing a plushie pattern is sketching your design.
This is where you decide what your plushie will look like.
Consider the size, shape, and features of your plushie. Do you want it to be small and cute, or large and cuddly? Should it have big eyes, a small nose, or a wide smile? These are all things to think about when sketching your design.
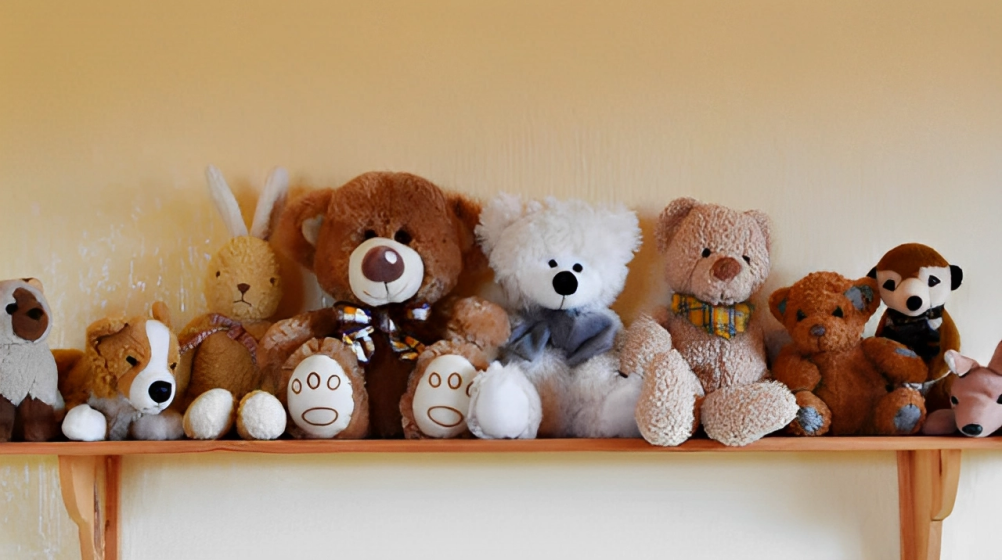
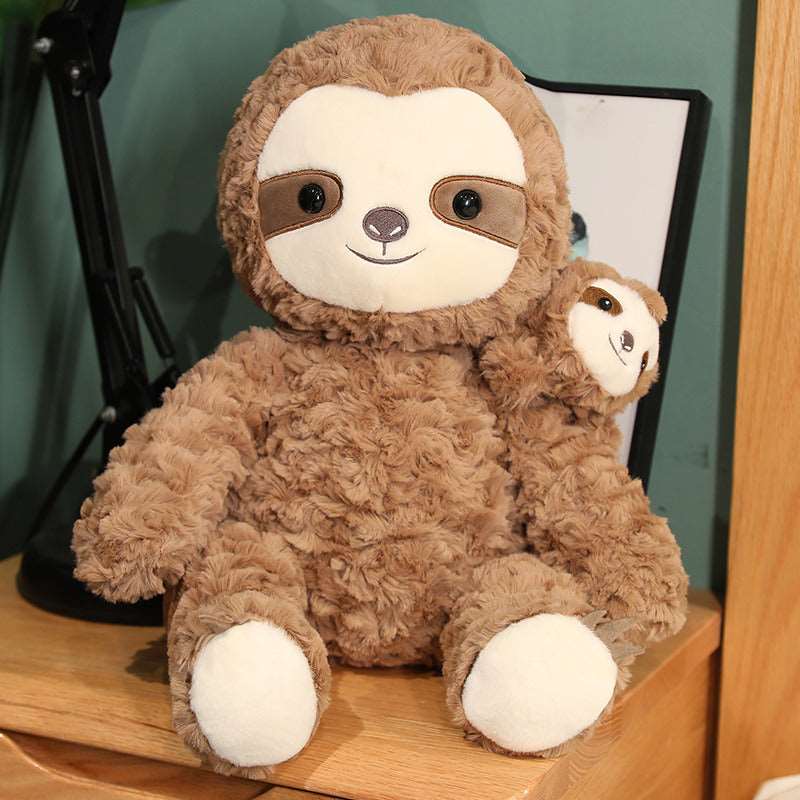
Don't worry if you're not an artist, you can browse through our plushies collection for inspiration.
The goal is to create a simple sketch that captures the essence of your plushie.

Creating a Basic Pattern
Once you're happy with your sketch, it's time to create a basic pattern.
Start by breaking down your sketch into individual parts. For example, if you're designing a teddy bear plushie, you might have separate parts for the body, head, arms, and legs.
Draw each part on a separate piece of paper, making sure to add a seam allowance around each piece. This will ensure that your pieces fit together correctly when sewn.
Remember, creating a plushie pattern is a process of trial and error.
Don't be discouraged if your first pattern doesn't turn out perfect.
With practice, you'll get better at translating your sketches into patterns.
Below is an example of a basic teddy bear sewing pattern, of course you'll have to adjust it to your liking and whatever design you're making.

Making a Prototype
Before you cut into your final fabric, it's a good idea to make a prototype of your plush toy.
This allows you to test out your pattern and make any necessary adjustments before you commit to your final fabric.
Choose an inexpensive fabric for your prototype. It doesn't have to be the same fabric you plan to use for your final plushie.
The goal is to test the fit and shape of your pattern, not the final look of your stuffed animal.
Once you've cut out your pattern pieces from your prototype fabric, sew them together by hand. This will give you a better sense of how the pieces fit together and allow you to make any necessary adjustments to your pattern.

Refining Your Pattern
Once you've made your prototype and tested out your pattern, it's time to refine your design.
This involves making any necessary adjustments to your pattern based on the results of your prototype. Maybe the arms of your plushie are too long, or the head is too big.
This is the stage where you can tweak your pattern to get the proportions just right.
Remember, refining your pattern is an iterative process. You might need to make several prototypes before you're happy with your final design.
But don't get discouraged! Each prototype brings you one step closer to your perfect plushie.

Using Software
In the digital age, there are many software options available that can help you design your plushie pattern.
These tools can make the process of designing, adjusting, and refining your pattern much easier.
There are plenty of free software you can use to create digital versions of your pattern pieces.
This allows you to easily adjust the size and shape of your pieces, and even create symmetrical pieces, which can be a challenge when drawing by hand.
Using software for pattern design also makes it easy to share your patterns with others, or even sell your patterns online if you choose to do so.

Common Mistakes
As you dive into plushie pattern design, it's important to be aware of common mistakes that can occur along the way.
By knowing what to watch out for, you can avoid potential pitfalls and create patterns that result in amazing plushies.
1. Ignoring Seam Allowance
One of the most common mistakes in plushie pattern design is forgetting to include seam allowance.
Seam allowance is the extra space around the edges of your pattern pieces that allows for sewing and assembling the plushie.
Without seam allowance, your plushie may end up smaller than intended or have difficulty coming together smoothly.
Make sure to include a consistent seam allowance in your pattern.
The typical seam allowance for plushie making is around ¼ inch to ½ inch (0.6 cm to 1.3 cm), but it can vary depending on your design and fabric.

2. Overcomplicating the Design
While it's exciting to create intricate plushie designs, be cautious of overcomplicating the pattern.
Intricate patterns can be challenging to sew, especially for beginners.
It's important to strike a balance between a visually appealing design and a pattern that is manageable to assemble.
If you're new to plushie making, start with simpler designs and gradually progress to more complex ones as you gain experience and confidence.

3. Neglecting Testing and Prototyping
Skipping the testing and prototyping phase can lead to unexpected issues in the final plushie.
Testing your pattern by creating a prototype allows you to identify any flaws or areas for improvement before investing time and materials in the final product.
Take the time to sew a prototype using inexpensive or scrap fabric.
This will give you a chance to evaluate the pattern's fit, proportions, and overall aesthetic.
Adjustments can then be made to the pattern based on your prototype's performance.

4. Not Considering Fabric Stretch
Different fabrics have varying degrees of stretch, which can affect the fit and shape of your plushie.
Ignoring fabric stretch when designing your pattern can result in a plushie that doesn't hold its intended shape or feels too tight when stuffed.
Check out our top 10 fabrics for plushies if you wanna know more!
5. Lack of Documentation
Documentation is often overlooked but plays a crucial role in plushie pattern design.
It's important to keep track of your pattern pieces, measurements and any modifications you make along the way.
This documentation will serve as a reference for future plushie creations and help you replicate successful designs, which will save you time and effort in the long run and contribute to your growth as a plushie pattern designer.
Remember, creating plushie patterns is an art form that requires practice, patience, and a touch of creativity.
By avoiding these common mistakes and following the tips provided, you'll be well on your way to designing incredible plushies!
Conclusion
From the humble beginnings of sketching out your dream plushie, all the way to stitching together the final product - the journey is truly a labor of love.
We hope our guide lit the creative spark within you.
But remember, perfection isn't made in a day.
If your first pattern looks like something out of a Picasso painting, don't be disheartened! It's all part of the process, and trust me, it gets easier (and way more fun) with practice.
Are you feeling inspired? Ready to get your hands on some adorable plushies?
Don't forget to check out our extensive collection of plushies. You're sure to find a bunch that will make your heart go 'aww'.
If you've enjoyed this journey as much as we did, consider subscribing to our newsletter.
Not only will you get regular updates filled with all things plushie, but we'll also give you a sweet 15% off your next purchase. Trust me, that's a deal as snug as our plushies.
So go ahead, dive into the wonderful world of plushie pattern designing.
Remember, the plushie pattern possibilities are endless, and they're all just a thread and a needle away. Happy designing!
FAQs
What is a plushie pattern?
A plushie pattern is like a blueprint for your plushie. It is a guide that shows you how to cut your fabric and sew it together to create your plushie.
Do I need to sketch my design before creating a plushie?
Yes, sketching your design is a crucial step in creating a plushie. It helps you visualize your plushie and allows you to plan its size, shape, and features.
How do I create a basic plushie pattern?
To create a basic plushie pattern, start by breaking down your sketch into individual parts. Draw each part on a separate piece of paper, adding a seam allowance around each piece.
What is the purpose of a prototype in plushie making?
A prototype allows you to test out your pattern before you cut into your final fabric. It helps you identify any potential issues with your pattern and make necessary adjustments.
Why is considering fabric stretch important in plushie pattern design?
Different fabrics have varying degrees of stretch, which can affect the fit and shape of your plushie. Ignoring fabric stretch can result in a plushie that doesn't hold its intended shape or feels too tight when stuffed.